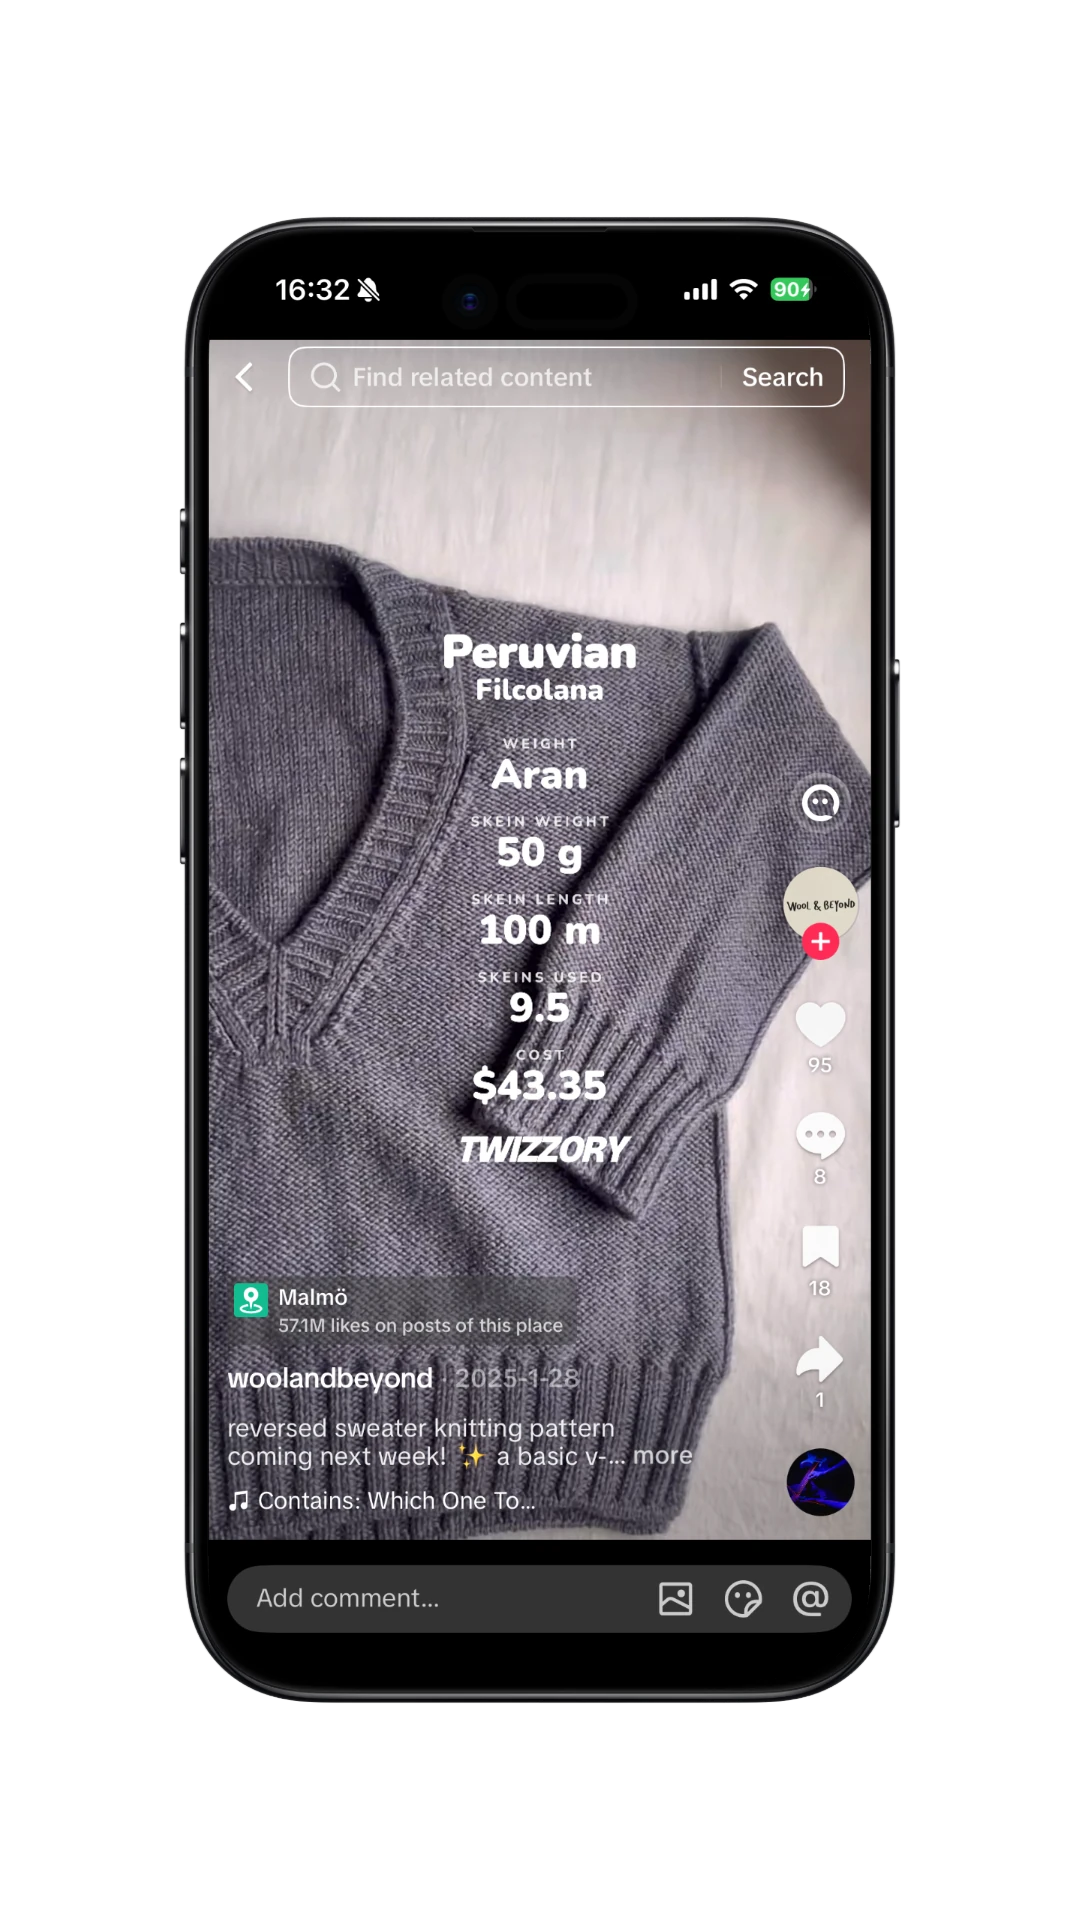
If you run or cycle, you've probably already met this idea: Strava calls it Stats Stickers. You finish an activity, tap Share, and your pace, distance and time drop onto your photo as a ready-made sticker you can drag, resize and rotate before it goes to TikTok, Instagram or YouTube. It works because no one reads the post caption — everybody's eyes are on the content itself.
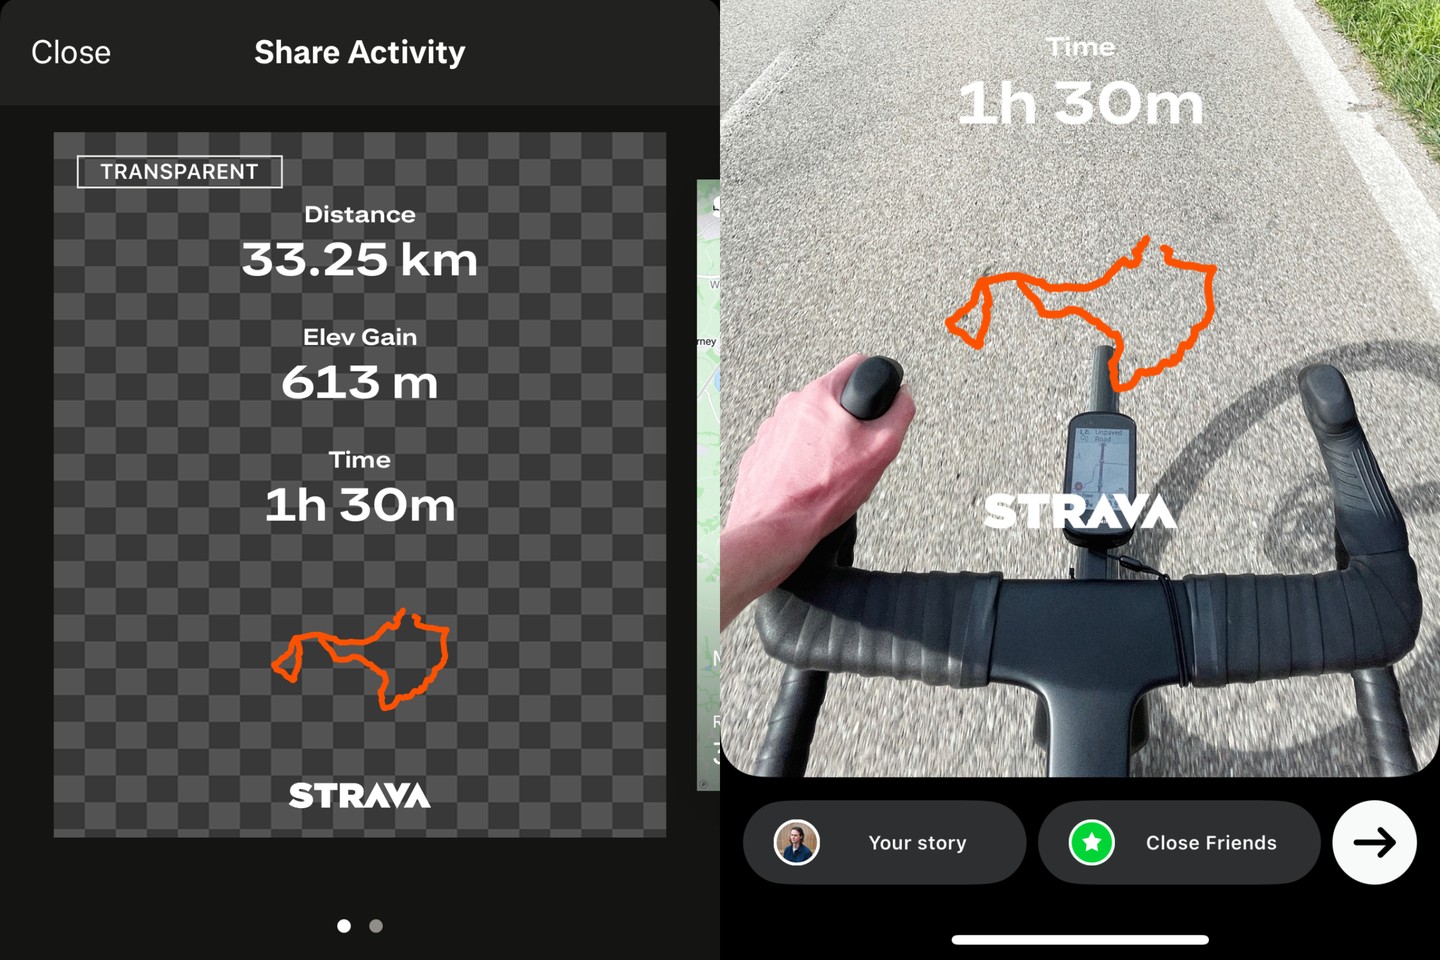
Knitters and crocheters have the same problem. They work so hard on their projects, but it's just as hard to share the progress or final result the right way. That's why we built Twizzory's Stats Overlay — conceptually like Strava's stickers, but with much richer capabilities and customizability, so you can share every bit of your project at every stage of it.
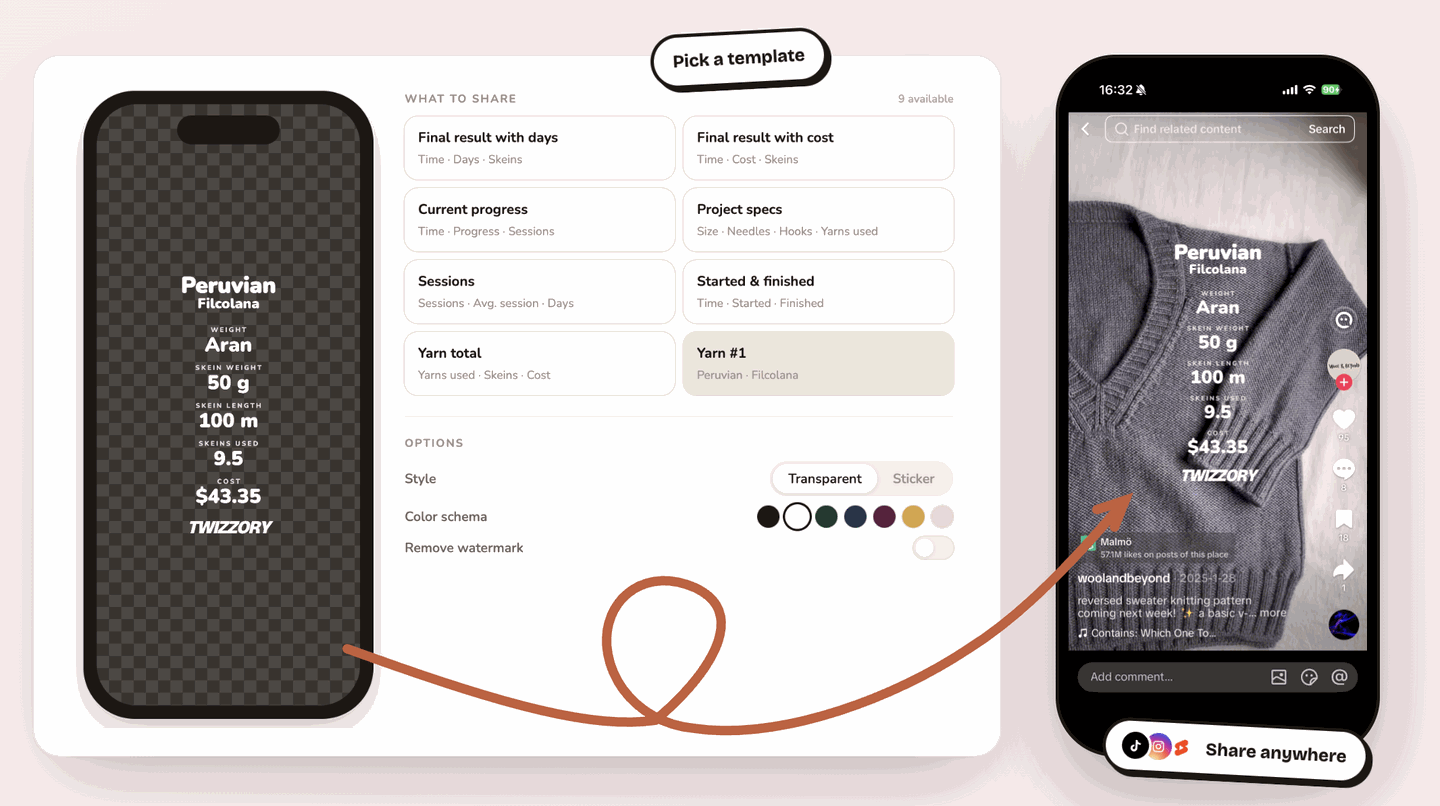
It's built from data you've already logged: final result, current progress, yarn breakdown and more. Nothing to re-enter by hand.
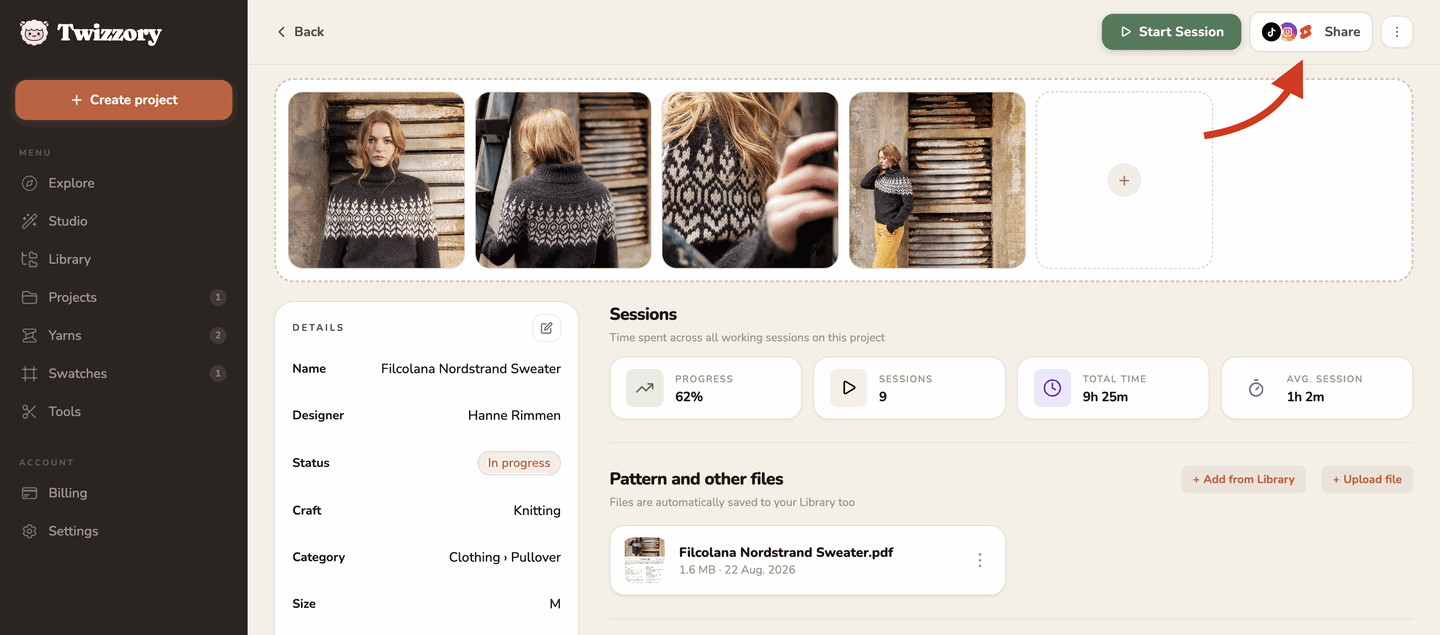
Where to find it
- Open any project you have on Twizzory.
- Near the top-right of the page, look for the small icon-stack
Sharebutton — the one showing the TikTok, Instagram and YouTube marks stacked together. - Tap it. The
Stats Overlaypicker opens with your project's numbers already filled in, previewed on a phone-sized canvas.
Templates: what to share
You don't design a card from scratch — you pick one of ready-made templates and it fills itself in. Some of them are fixed, the rest are generated dynamically. For instance, once you add a new yarn to a project, it gets its own template.
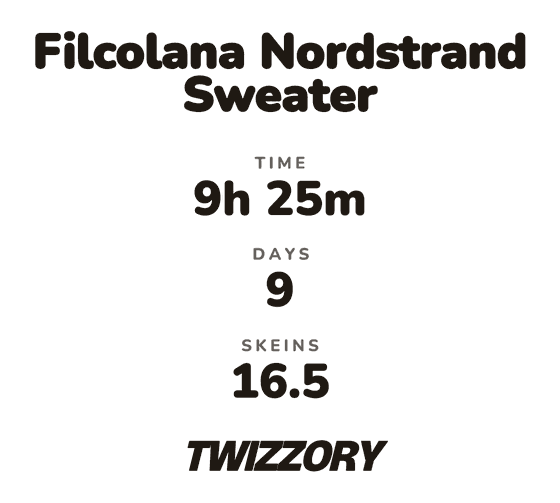
Final result with days
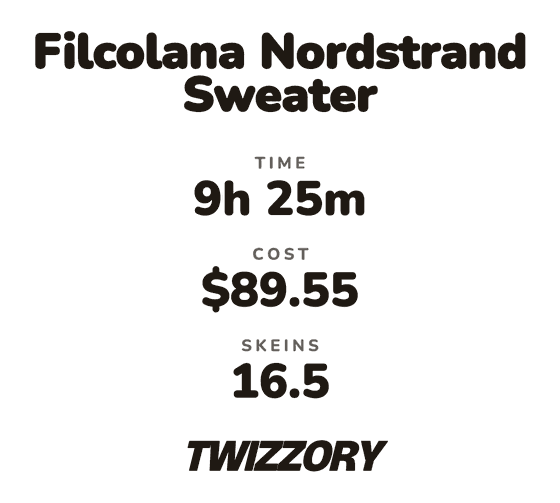
Final result with cost
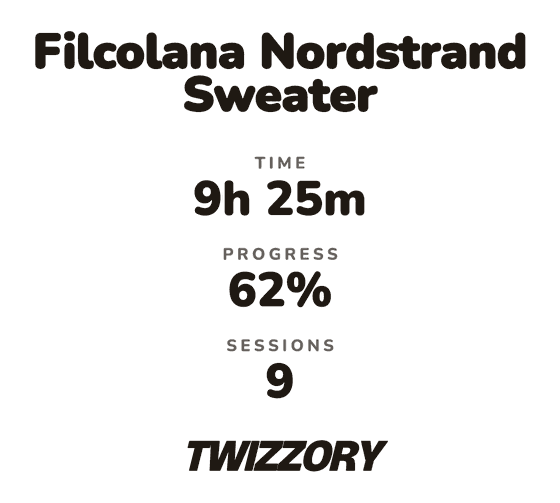
Current progress
| Template | Shows | Good for |
|---|---|---|
| Final result with days | Time, days, skeins | Finished-object with accent on days spent |
| Final result with cost | Time, cost, skeins | Finished-object with accent on cost |
| Current progress | Time, % progress, sessions | WIP updates with accent on progress |
| Project specs | Size, needles/hooks, yarns used | Project specifications |
| Sessions | Sessions, avg. session length, days | Streaks and how consistent you are |
| Started & finished | Time, start date, finish date | Emphasize on the progress days |
| Yarn total | Yarns used, skeins, cost | Information about all yarns used |
| Yarn #1, #2… | That yarn's weight, skein weight/length, skeins used, cost | Information about particular yarn used |
Layouts: horizontal, vertical, triangle
Once a template is picked, choose how its fields sit on the card:
- Horizontal — three blocks side by side.
- Vertical — three full-width rows, stacked.
- Triangle — one wide block on top, two smaller ones underneath.
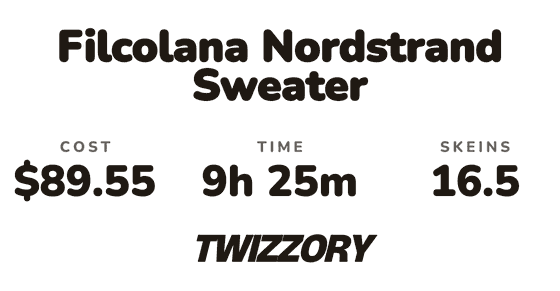
Horizontal
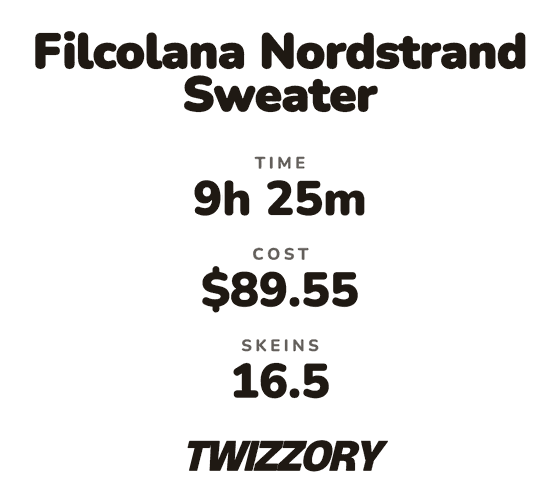
Vertical
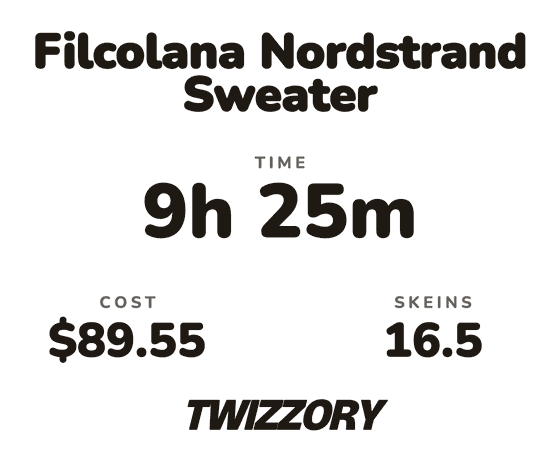
Triangle
Not every template offers all three. Project specs forces vertical, and Started & finished and Yarn total both disable horizontal — their numbers just run too long to squeeze into three narrow columns.
Style: transparent and sticker
Two style modes:
- Transparent — just the text and numbers, no background. Made to sit on top of a photo or video you already have.
- Sticker — the same card on a solid, rounded background. Use it when your photo's own background doesn't work for Transparent — too busy, too light, or too dark for the text to read.
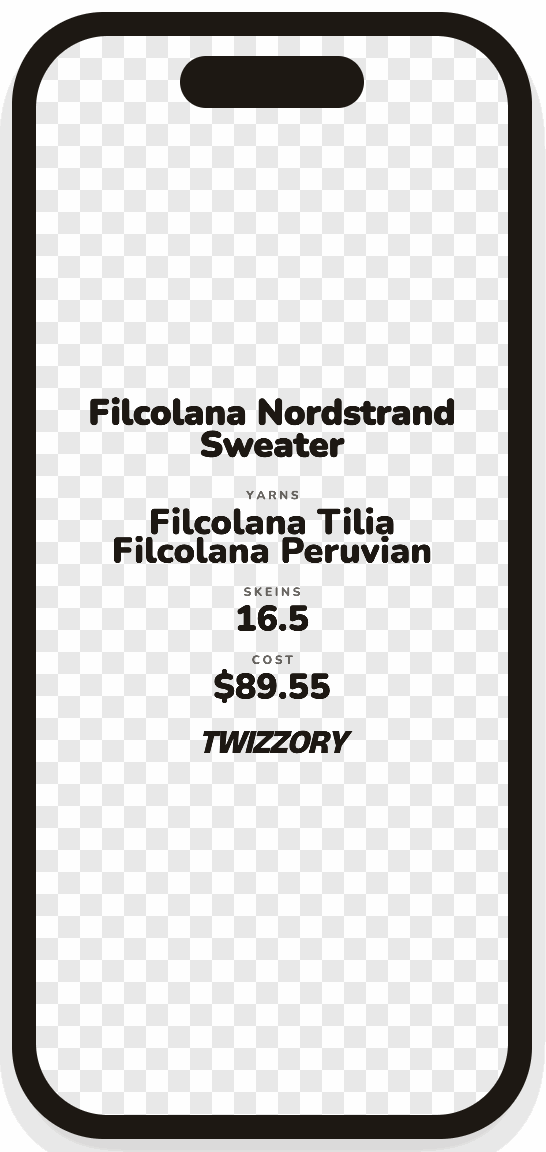
Transparent
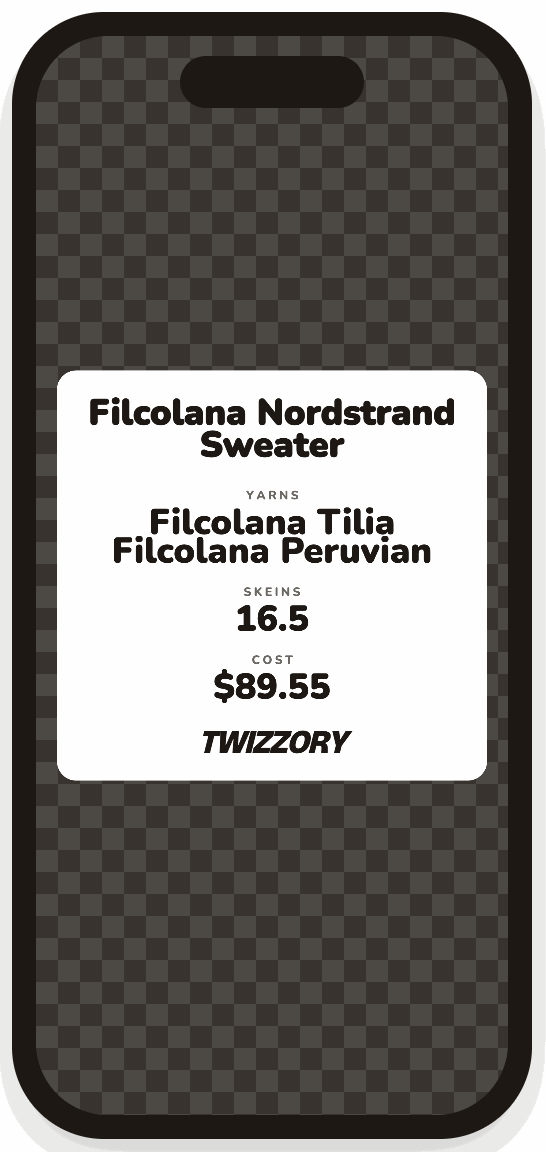
Sticker
Color schemas: to match any background
Both styles share seven color schemas: black, white, forest, denim, berry, gold, rose. No single card color works against every photo, sweater, or feed aesthetic, so instead of forcing one default look, you get seven to choose from — pick whichever one fits the shot you're overlaying it on or the vibe you're going for.
Transparent
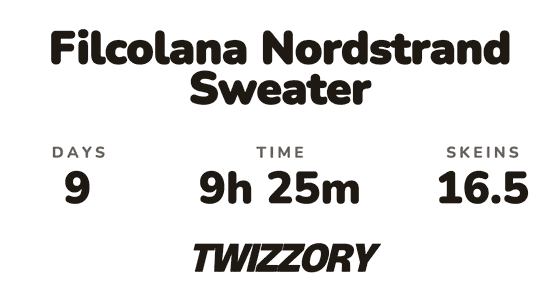
Black
White
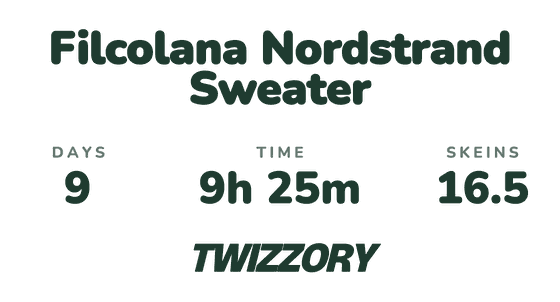
Forest
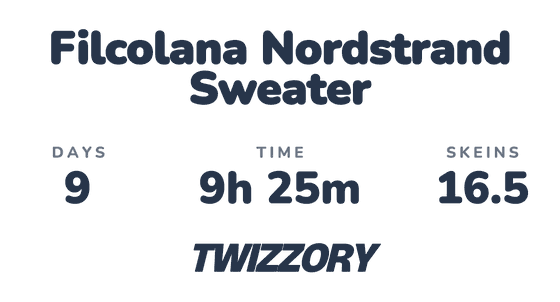
Denim
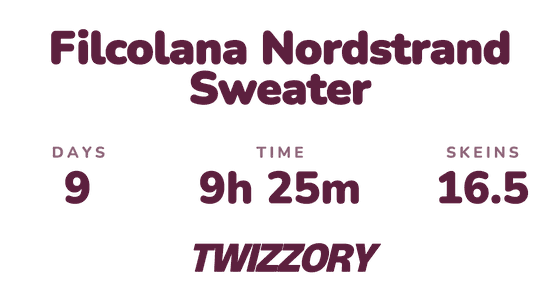
Berry
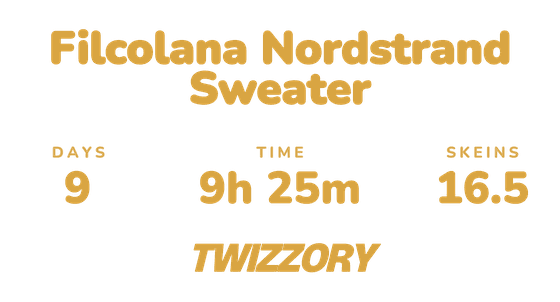
Gold
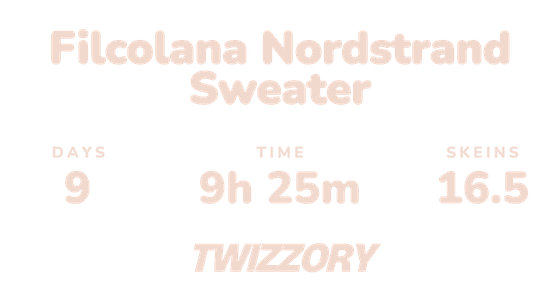
Rose
Sticker
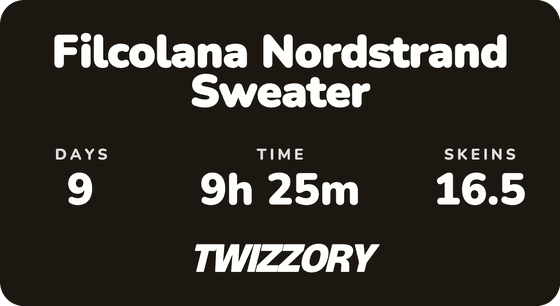
Black
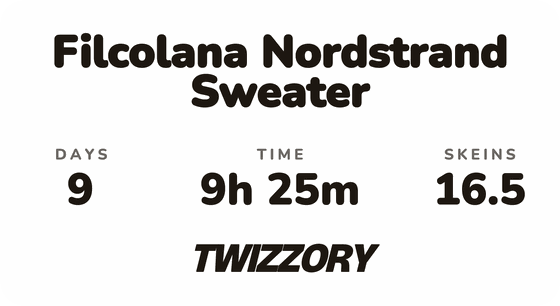
White
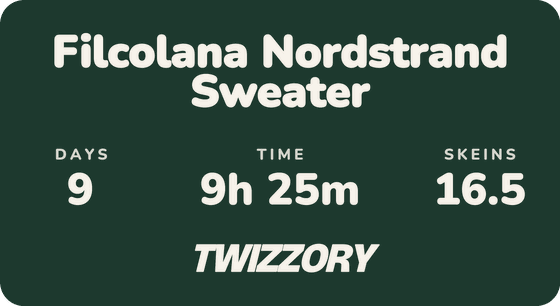
Forest
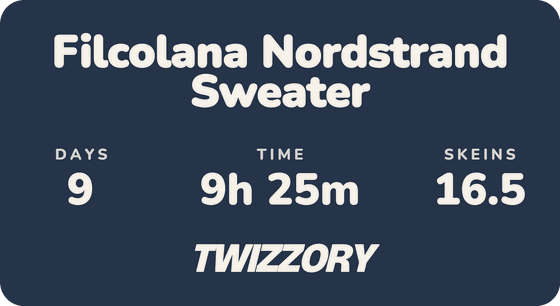
Denim
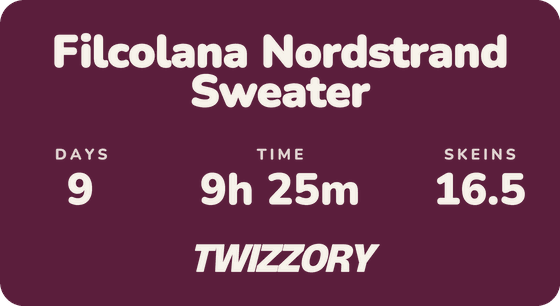
Berry
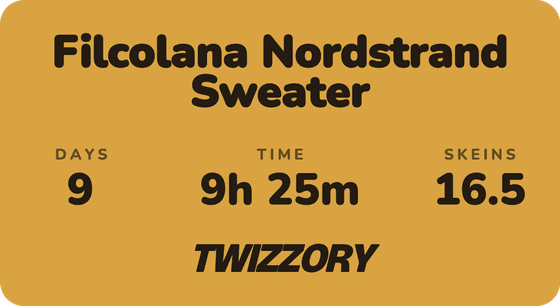
Gold
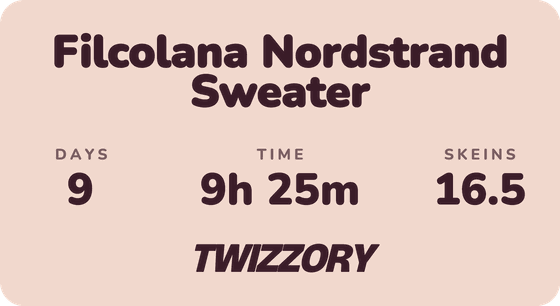
Rose
Download result: share, save, or copy
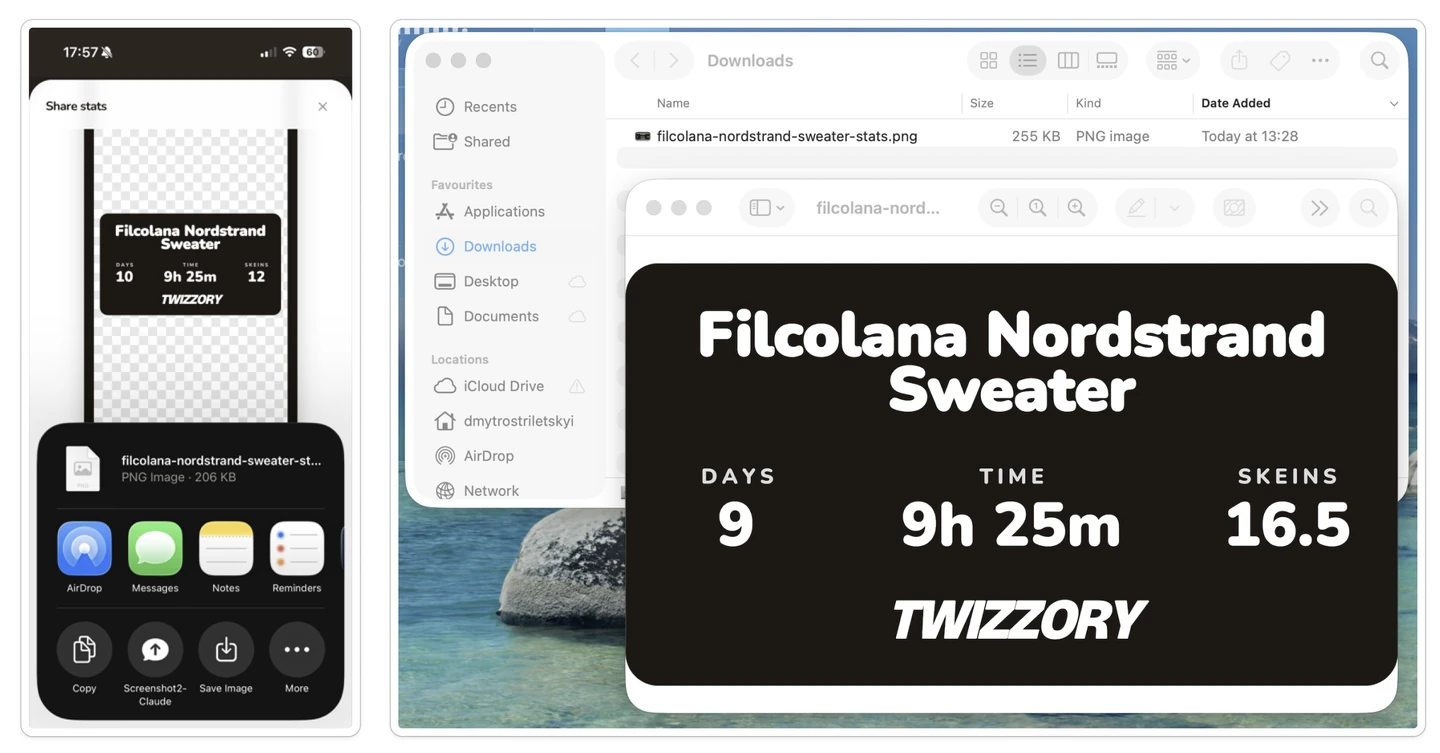
Every export renders at 2580×5592px (double an iPhone 15 Pro Max's own screen resolution) so it stays sharp even after you crop, rotate or scale it down inside another app. Three ways to download it onto your device:
- Share: opens your device's native share sheet, so you can download it as a PNG to your gallery, files, or send it via AirDrop.
- Save: downloads it as a PNG to your files.
- Copy: copies the image to your clipboard, for pasting straight into a desktop app like Canva or CapCut.
Posting to TikTok
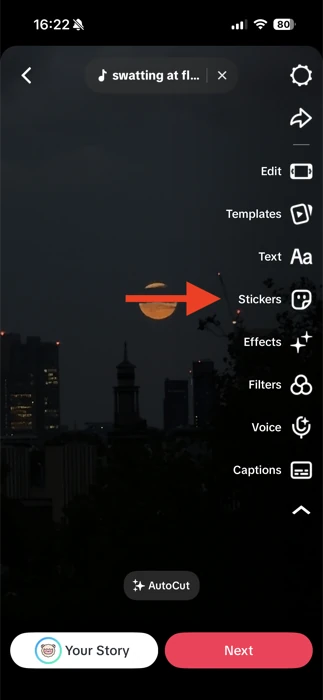
Once you have your image, video, or story, follow these instructions on how to add a downloaded stats overlay:
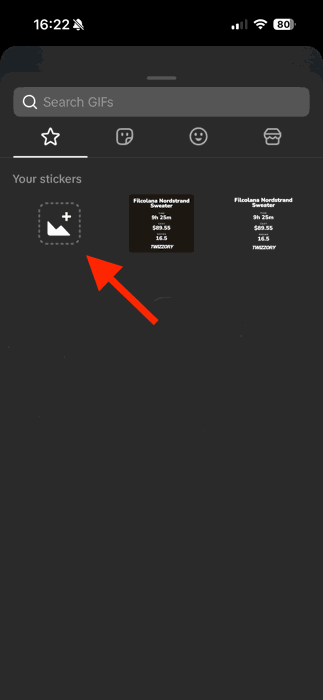
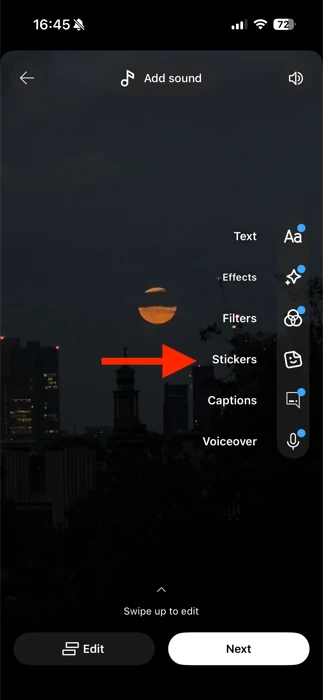
- Tap the
Stickersicon in the editor's right-hand toolbar. - Tap the camera-roll icon and choose the downloaded overlay from your gallery.
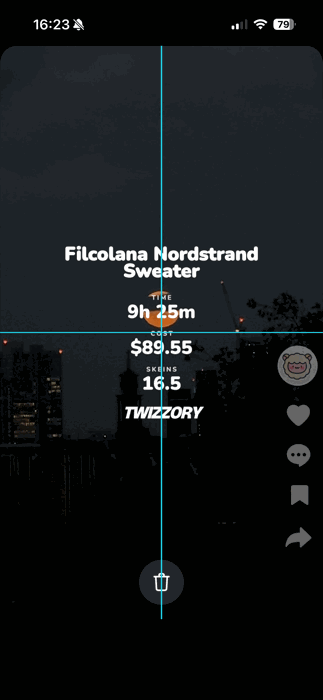
- Drag it into place and resize it, alignment guides snap it to center as you move it around.
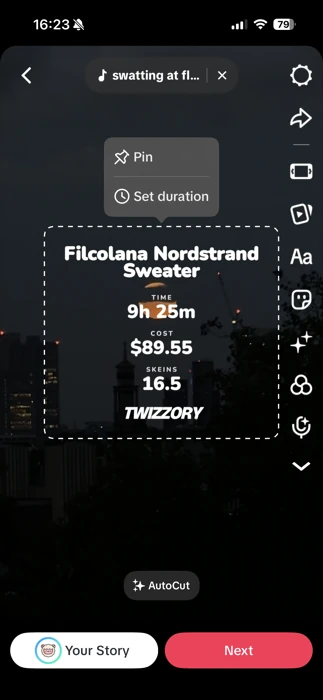
- Long-press the sticker to pin it in place or set duration for how long it stays on screen.
Posting to Instagram
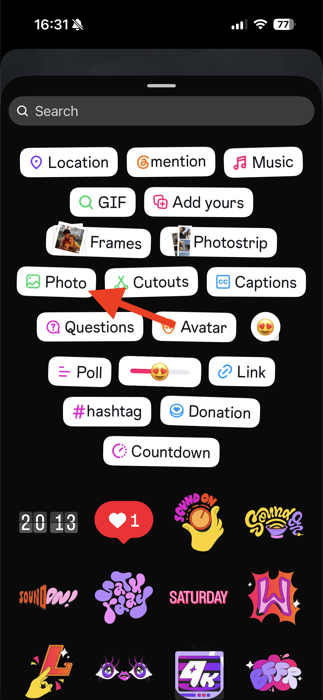
Once you have your post, reel or story, follow these instructions on how to add a downloaded stats overlay:
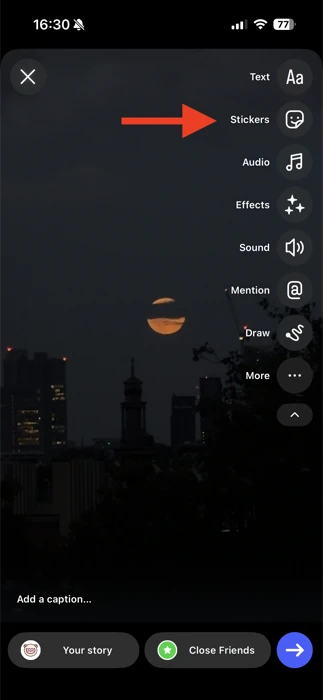
- Tap the
Stickersicon in the editor's right-hand toolbar. - Tap
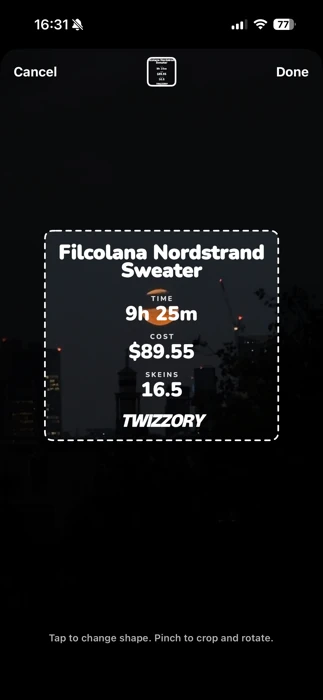
Photoand choose the downloaded overlay from your gallery. - If needed, pinch to crop or rotate and then tap
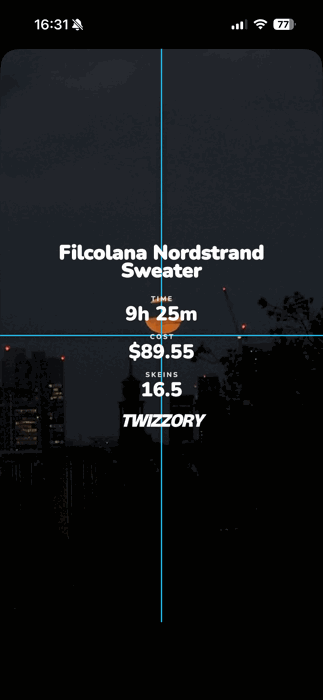
Done. - Drag it into place and resize it, alignment guides snap it to center as you move it around.
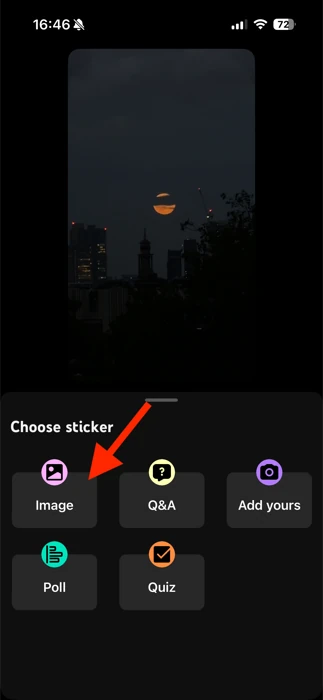
Posting to YouTube Shorts
Once you have your Short, follow these instructions on how to add a downloaded stats overlay:
- Tap the
Stickersicon in the editor's right-hand toolbar. - Tap
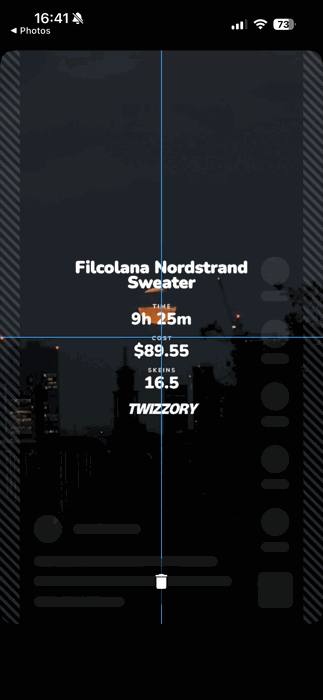
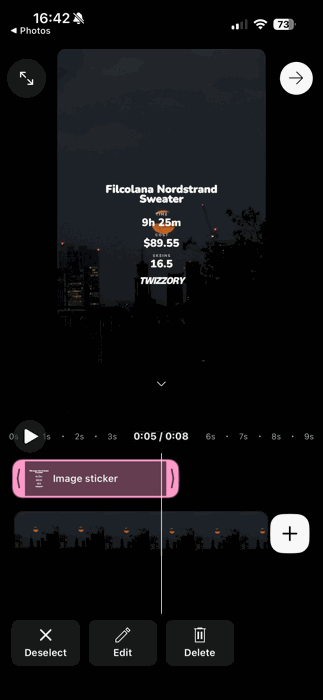
Imageand choose the downloaded overlay from your gallery. - Drag it into place and resize it, alignment guides snap it to center as you move it around.
- If needed, use the handles on its clip in the timeline to trim how long it stays on screen.
Using in Canva, CapCut, Photoshop, Figma
If you're already building your Reels, TikToks or thumbnails somewhere other than the native app, the overlay drops in as a normal image layer. Because it's a real PNG with proper transparency, every one of these tools treats it exactly like any sticker or graphic you'd upload yourself.
- Canva:
Uploads → Upload files, or drag the PNG straight into your Uploads panel. - CapCut:
Media → Import, then drag the clip onto your timeline as an overlay track. - Photoshop:
File → Place Embeddedto drop it in as its own layer. - Figma:
File → Place image, or drag and drop it onto the canvas.
From there, drop it onto your video or photo layer, resize it, and adjust its position over time if it's sitting on a video clip.